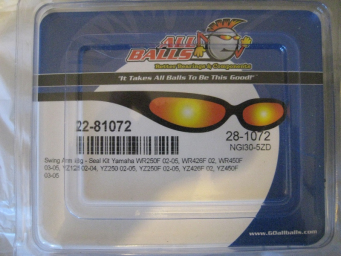
It’s the weekend, time to get off my butt and put the bike back together. Last spring (the first time I took the swingarm apart since buying it) I noticed one bearing came out much worse than the rest: dripping rusty water, with almost all the needle bearings seized. At the time I was prepping for a ride the next weekend, so I cleaned it out as best I could, used ultrafine grit sandpaper to get the worst of the rust off, and repacked it with fresh grease. But I also bought a bearing kit from All Balls online:
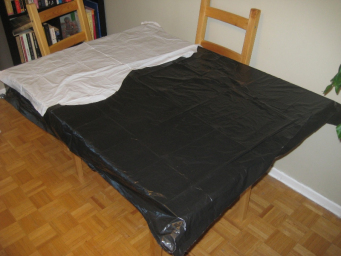
To keep my sister from killing me, when I do work in the apartment I put down one layer of black garbage bags on the table, then a second layer of white bags. This prevents me from scratching things, the white bags make it easy to see screws and other parts I drop, and I can replace the top white layer as I go along to keep the surface clean of dirt and grease.
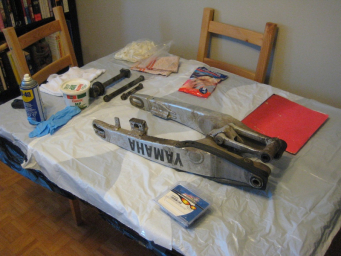
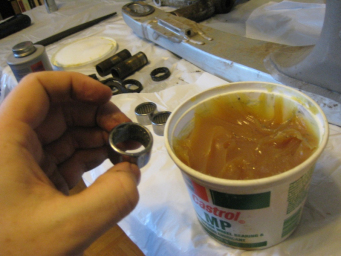
Lots of rags and rubber gloves, WD40 to help clean things off, and a big tub of grease for putting everything back together:
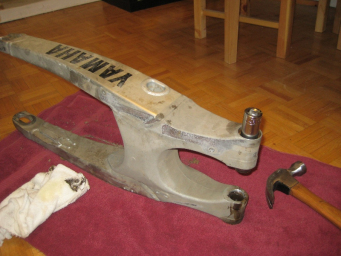
I was cleaning and repacking the linkage bearings, but needed to get the swingarm bearing out (2 per side). My Yamaha manual talked of custom bearing pulling tools, and I looked them up online. I could order a “real tool” for between $30-$50. Or, as I learned online… I could use a socket slightly smaller than the hole, but bigger than the inside of the bearings, and hammer them out. Now you’re talking!
Then time to cram as much grease as I could into the new bearings, and “tap” them back in. I didn’t much care how hard I whacked the old ones out: they were garbage: but I wanted these to last the rest of the life of the bike. Handle with care!
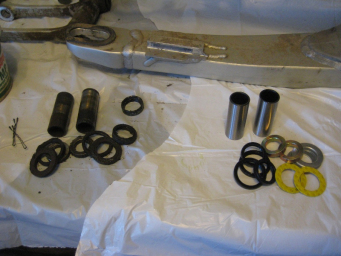
Here on the right you can see the new pivots, thrust washers, and grease seals about to be installed on both ends of the new swingarm bearings (and their old greasy/rusted versions to the left)
With the swingarm sorted, next up was the new rear tire, using the same guide I used last year.
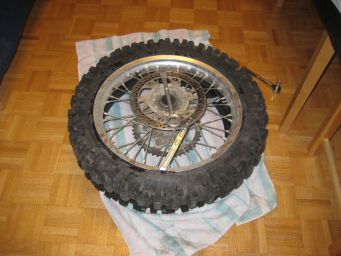
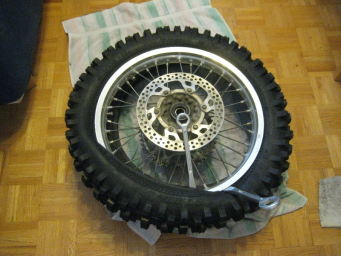
I can’t explain how much I’m growing to hate tire changes. Apparently it’s something you get better at. But to save some time I’m just going to post before-and-after pics, and not tell you how long it took me to get it done 🙂
Just taking the first bite of the old tire to get it off…
…and the final (and hardest) bit of spooning the new one back on.
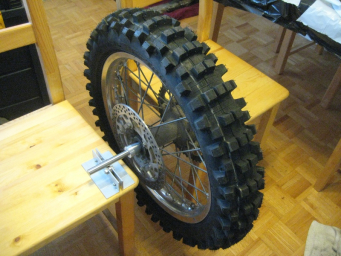
Then, an extra step. My front tire would shudder badly at certain speeds on the highway last year, so I decided to get a balancing rig off Ebay (i.e. $10 in parts sold at an insane markup) and balance my tires when I change them. Basically a straight rod to pass through the tire, tapered cones to keep the tire centered (and adapt to different sized axles), held up on both sides by 2 bearings bolted to scrap pieces of aluminum (looks like the same bearings used for rollerblades or skateboards). All you need to provide is something to hold up both sides. Milk crates or cement blocks would work… but here I’m using 2 wooden Ikea chairs.
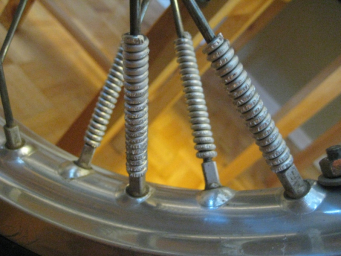
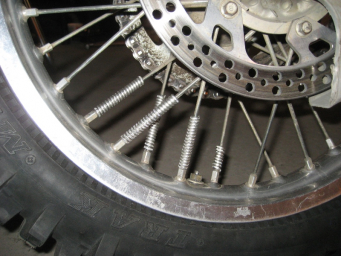
The kit came with 1/4oz stick-on weights, but there wasn’t really flats spots on the rim to put them. I needed 2.25oz to balance the tire… and was eyeballing some disposable or reusable spoke weights, then I remembered something I saw at last years DualSport training event. A quick Google to make sure I wasn’t remembering things wrong… then a trip to Canadian Tire to pick up what I needed: the thickest solid-core solder they sold (3mm, that I could find). Cut 12-16″ lengths and wrap it tightly around the spokes, as shown where the “light” side of the tire was (using the balancer).
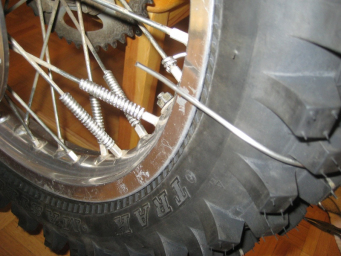
I’d wrap a length a couple of times around a spoke, then bend the rest toward the outside of the tire and check the balance. If I still needed more weight I’d wind up the current piece, then repeat the process again. Until the balancer showed I had too much weight… then I’d trim that last bit of solder shorter and shorter until I was balanced. Then wrap that trimmed bit of solder up around the spoke
(Note: I don’t know if balancing with solder is safe, or durable, time will tell for me. If it seems too dodgy for you, don’t do it!)
Then back to “the garage” to button things back up:
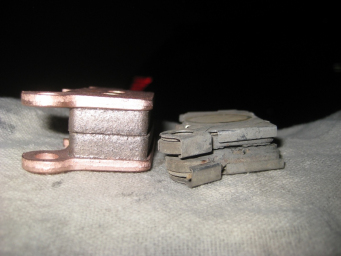
When I ordered fork oil for the front, I also asked for replacement pads front and rear. I hadn’t actually looked to see if I needed them, but I knew they hadn’t been changed since I bought the bike, and I’m a sucker for throwing extra parts in the basket at the last second when ordering online. It’s a good thing I did: I had less then 1mm left of material left on my rear pads. Here’s the new on the left, and the old on the right.
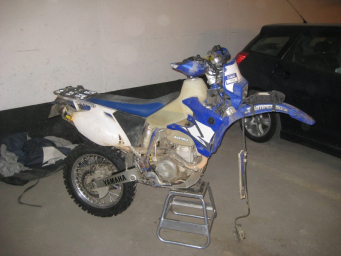
Got the swingarm and rear tire back on: check out the final ghetto balance job!:
Now I’m done! Right?
Right ???
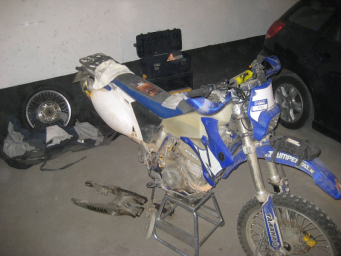
Aw, crap:
Missing some pieces. Oh, there they are:
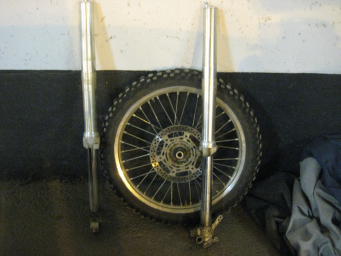
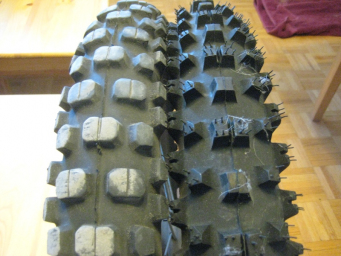
Front tire and forks are now warming up inside. I’m not unhappy with the current front tire, but wanted to try something a little more “dirt” oriented. The original on the left is a Pirelli MT21 with a season of wear on it (almost nothing), and on the right is the new Pirelli Scorpion XC MidSoft: with knobs that are a bit smaller at their base but longer and pointier:
Maybe I’ll get the front tire and forks done tomorrow, if I’m not too lazy…
Hey Mike, when you were figuring out how much solder was enough, partly wrapping a bit and then “bending away” the rest, I think you were bending the solder the wrong way. Bend it towards the center of the tire. The further away from the center of the tire, the more torque it applies and the more angular momentum it’d carry.
Doh – never mind, I mis-understood. I re-read your description and see that bending it around the tire was just a temporary place to “hold it” to see if you needed to wrap that entire one, or trim it down.