Shhhh… be vewy vewy quiet…

…but I’m not hunting wabbit 🙂

Another club event is coming up, the Mini Pine… and as it’s a club event that means there will be a sound test before you can begin. They take the “Less Sound = More Ground” message seriously, as should anyone who wants to continue to ride a dirtbike/ATV anywhere near civilization.

Last year at the Northumberland event I clocked in a little high, I think 95 or 96db (and they’re looking for 94 or lower) but they let me ride anyways. This year to see if I can hit 94 I repacked my muffler before the event. It’s also good to know if new packing will actually help or not… or if the exhaust I bought is destined to be 95+.

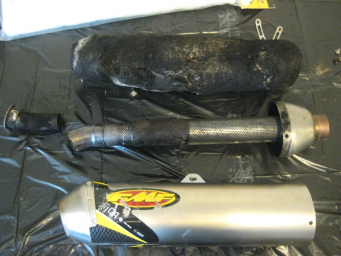
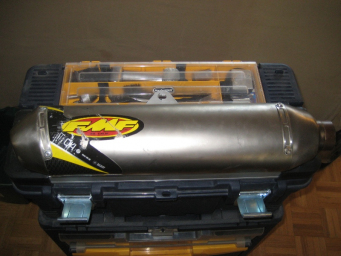
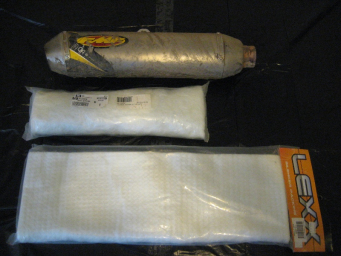
I forgot I ordered a repack kit last fall, and ended up ordering a second one with some other parts a couple weeks ago. They’re both “generic 4-stroke” repack kits… but the White Bros kit (middle) is significantly smaller than Lexx kit (bottom) and from what I can remember it’s more expensive too. You can see the dirty exhaust I just took off up top:


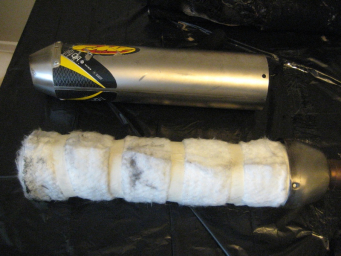
5 allen screws and a little percussive persuasion later… voila! (used packing up top, core and spark arrester in the middle, and cannister on the bottom)


Trimmed the Lexx kit down a little with scissors (it was about 6″ too long) and wound it up snug around the core, held in place with masking tape.


Then slide it back together with a little high-temp silicone between the end can and canister… done!


It’s just under a 100km ride to get to the Mini Pine next Sunday… so I should get my sound check as close to “new” as possible. It better be lower than last year! 🙂

Aren’t those things illegal?…

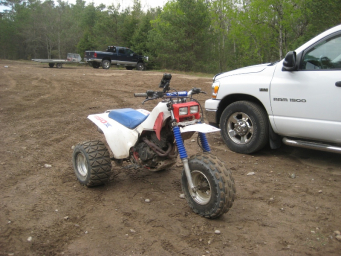
…to steal the phrase from the 3WheelerWorld forum. May 1st was the first 2010 meetup of the Southern Ontario Trikers (SOT) at Ganaraska forest… organized by my friend BJ (Xhumeka).

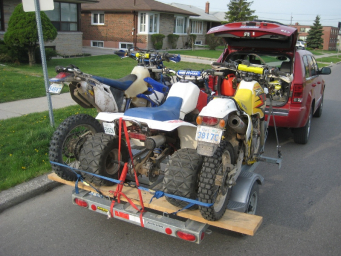
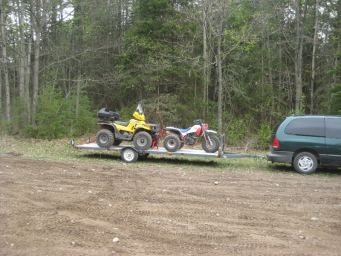
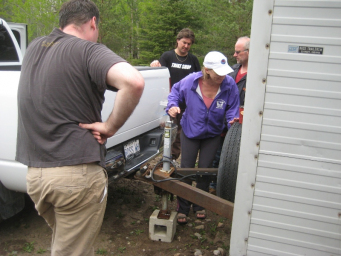
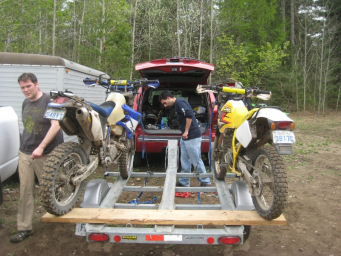
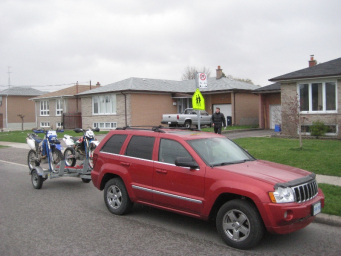
Got over to BJ’s early in the morning to help get the trailer sorted. Normally he could take up to 3 bikes…


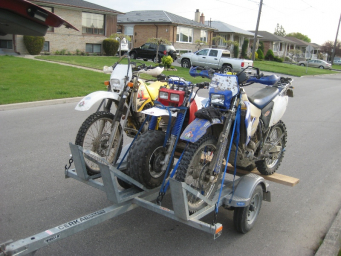
…but fitting an ATC in there too required a bit of out-of-the-box thinking… and a slab of dead tree:


BJ’s friend Paul soon arrived and we were on our way. Although Paul rode street, it was his first time on a dirtbike: way to get thrown in the deep end! 🙂

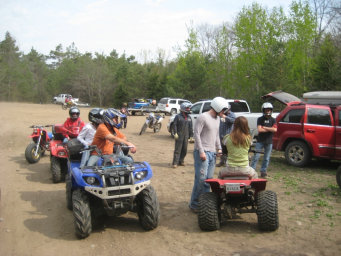
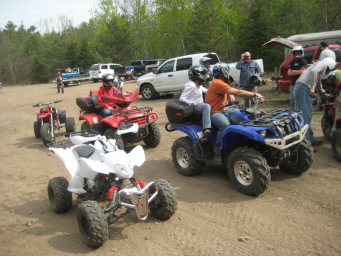
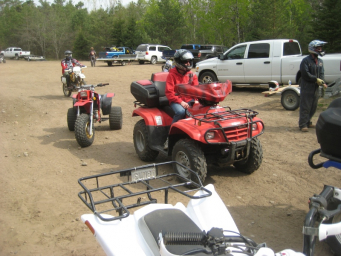
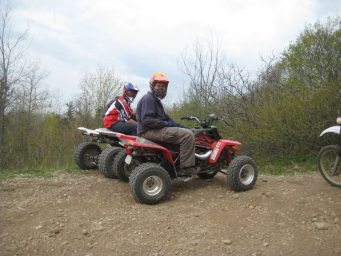
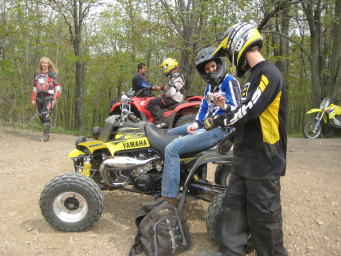
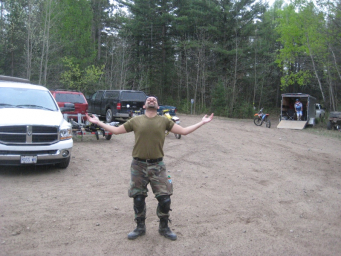
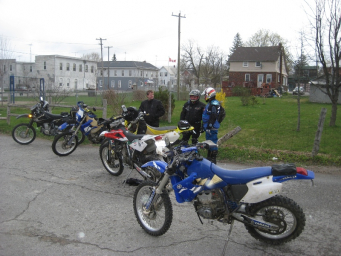
Soon enough we were out at the Ganny, greeted by an assortment of trikes, quads and bikes:


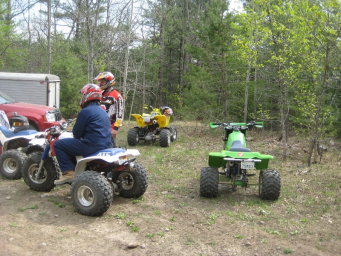
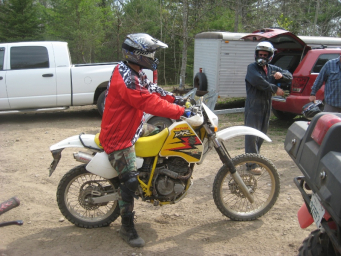
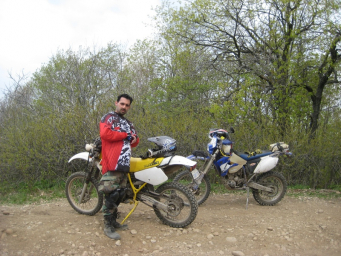
…and here’s Paul all ready to go!:


Due to a couple of errors on my part, first taking the “back road” to our first destination… and secondly mishearing BJ’s next destination after he found us… I was in “group 2” for the day. 3 quads and 2 bikes meandering the forest and never quite meeting up with the main group until lunch. Which is too bad, because it would have been nice for everyone to make it to the Forest Center and stream at some point… but we still put on some miles… and taught Paul how to kickstart a dirtbike:

Or after it wore it him out… how I could kick it.

And how when I got tired some of the quad guys could kick it 🙂 (thanks to everyone on their quads who kept us dirtbikers moving!) Note to self: never buy anything that doesn’t come with working electric start!

We did make it to The Lookout first thing, before we kinda lost track of each other for awhile 🙂


We made it back to the parking lot about 20 minutes ahead of the main team, just before lunch, … and just as it started to rain. Paul was just happy to be off the bike for awhile:


I had only brought a couple snack bars for the day, so I borrowed Pauls backpack and burned down the road to the nearest burger shack (hooray blue plate!), and returned with a bag full of fries and bacon-cheesburgers. And one of the SOT guys had a big box of chocolate-chip cookies for desert: sweet!

The rest of the day went off without a hitch: giving my group a chance to see some of the local hillclimbs that we missed in the morning. Then it was time to pack up. A little bit of excitement as we had a why-is-the-trailer-moving-oh-shit-it’s-not-attached! moment…


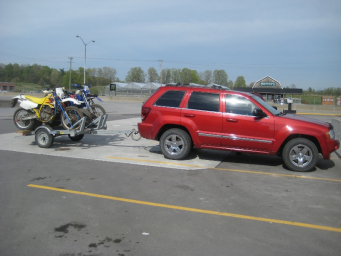
..but other than that it was just getting the bikes all lined up to fit the trike back on BJ’s trailer:


…and a quick stop at Tim Hortons on the way home.


Thanks to everyone who helped make 2010’s first SOT meetup a success, and special thanks to BJ for organizing it. Congrats to Paul for sticking with it the entire day… right to the final fall in the parking lot just as we returned from the last run 🙂

Now for the YouTube: several hours of boring helmetcam footage trimmed down to just the interesting bits:

Now with 100% less kicking!!!

First, a little background…

I fed a couple aftermarket and OEM batteries to my dirtbike before clueing in that it wasn’t the batteries that were the problem… it was the charging system cooking them (oh, and now it makes sense why new headlights would burn out 5 minutes after installing them 🙂 ). But happily a new regulator got that sorted, and I rode all last season with the cheapest battery Ebay would send me. Hooray!

But, although I dutifully kept that cheap battery topped off all winter… when it came time to inflate my new tires this spring I took the easy way out… and instead of inflating them with my manual air pump… I just clipped my 12v air compressor to the battery and had both tires full in minutes. Which ran down the battery.

But I didn’t charge it up again.

And 2 months later when I actually wanted to start the bike… it would no longer take a charge. And the top 2 rules for lead-acid tech batteries seem to be 1) don’t discharge them too deeply, and 2) don’t let them sit around discharged. Crap.

OEM Yuasa batteries may be what the bike came with, but they’re stupid expensive (I swear, every time I check the prices seems to have magically gone up $10). And these days lead-acid (or AGM) isn’t the only game in town: lithium-ion batteries have pretty much taken over the consumer electronics market. So I decided to go double-or-nothing… and get an even more expensive lithium battery: sold by TurnTech and E-Batt.

Which one to buy? Well E-Batt was cheaper on their web site, but wanted way too much for shipping to Canada (more than making up the price difference) and TurnTech came in a sturdy looking plastic case with nice thick metal tabs to connect the power wires to. Sold! I ordered it April 11th and it was at my door on the 27th. Sent one email to the owner to make sure my PayPal went through and he responded the same day saying it had, and giving me the USPS tracking number.

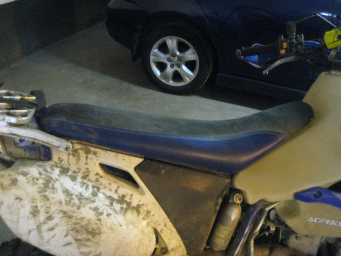
The old battery was easy to get at: the WR has an allen bolt at the back of both sides of the seat, in my case it’s also the front mount for the rack:


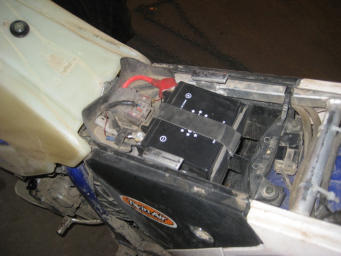
30 seconds later and I had the top off…


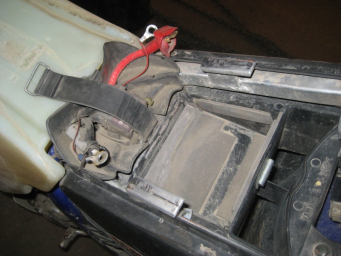
…and 30 seconds later the paperweight had been removed.


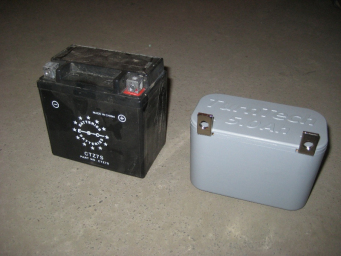
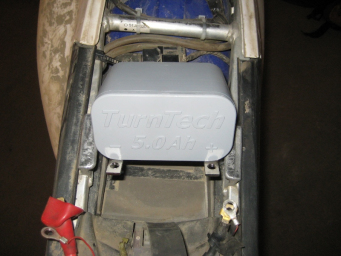
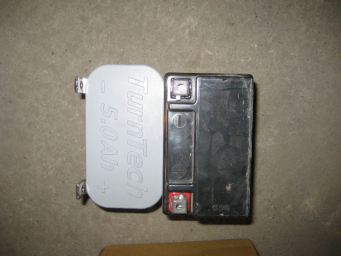
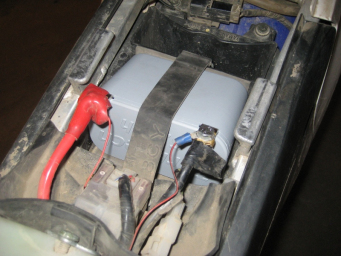
Here’s the old battery on the left, and the TurnTech on the right. It’s around 3cm shorter than the original, and a bit lighter:


Lets put it in! Should be a no brainer… I was wondering how I’d have to pad the battery to keep it from moving around under the seat with all that extra space! Wait! What the…???


Dammit! The TurnTech is wider than the original: actually it seems to have a slight taper so it’s wider at the top… and it won’t fit between the frame rails! Here it is again beside the original:


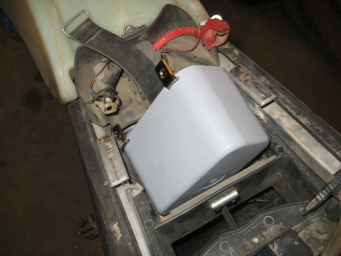
Lovely. Yes, the plastic case on the TurnTech may make it a bit sturdier… but I bet the heatshrink cover on the E-Batt doesn’t have clearance issues. Do I have to return this thing? Well, no, first I had a “Oh… duh.” moment and realized I can drop the batttery through the rails sideways (never had to do it with the original battery)…


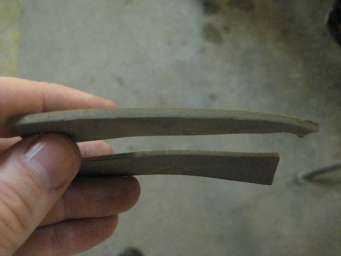
…but then the battery was still too wide to fit in the plastic tray. But if I pull out the foam guides from both side of the tray…


… and push down ever so gently: Success!


And after that the bike spun over quickly and started with the first stab at the magic button! That’s going to be nice to have for this weekend! And since it’s a dualsport bike… it’s also nice to not have to kickstart it when it occasionally stalls at stoplights. I need to turn up the idle just a little bit…

Haven’t used the battery for more than a couple minutes so far, but:

Pros:
— lighter than stock (but I don’t really care)
— will hopefully survive charge/discharge abuse better than my last victims
— started the bike 🙂

Cons:
— 50%-100% more than an OEM battery
— wide top made it hard to fit
— terminals you screw the wires to stick up from the battery (not recessed like OEM) meaning the wires stick up about 1cm higher than stock. It barely clears the bottom of my seat (E-Batt only provides wires out of their battery, so it may not have this problem)
— unproven durability: a dirtbike is basically a paintshaker on wheels: if it’s sensitive to long-term vibration there’s gonna be problems…

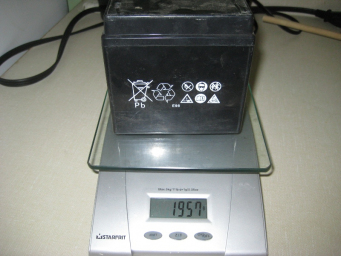
Oh, I forgot to weigh the TurnTech before installation, but the old battery weighed 1957 grams…


…which compared to the web site weight from TurnTech (1.9lbs) saves you just over a kilogram (1095 grams by my scale).

Hopefully this TurnTech will last a few years (comes with a 6-month warranty, which will get me through this season). If anything goes wrong I’ll be sure to post about it!

Bethany 2010

Yesterday I attended my first club ride of the season: the Bethany 2010! Fortunately I did a lot better than last year: in that I didn’t spend all day mudwrestling.

I arrived at BJ’s place around 7am, and we loaded up the bikes…


…then it was off for breakfast with the gang at Haugens… and ride the bikes to the launch point. Most of my group is in this shot (except BJ): from left-to-right: Derek, Rob, and Ken. And the bikes from front-to-back: Ken’s WR400, BJs TE450, Robs DRZ400SM, my WR450, and Dereks brand-new DRZ400S


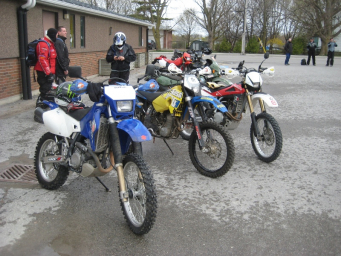
There were many other bikes as well: I didn’t get a count… but at least as many (or more) than last year:


And David Vans bike (the organizer) where we all signed up and slipped him some cash 🙂


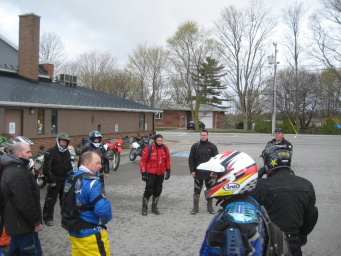
Then a short safety briefing, and we were off!


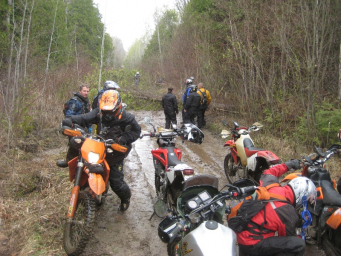
We went out in groups of 3-5 staggered a few minutes apart. Most of my pictures are in the helmetcam coverage (I chopped out all the highway/gravel-road footage to fit into YouTubes 10-minute limit)… but I did get some at the main obsticle of the day. Surprisingly it wasn’t a mudhole or water crossing… but trees that had been cut down intentionally to block a road:


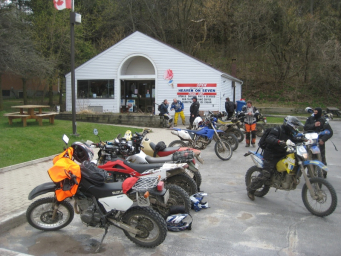
After clearing a way to get the bikes around the trees, the next stop was for a quick break (and gas) at Heaven on Seven:


Then a few more roads and trails… and we were back at Haugens around 3pm. Load up the bikes… get a bite to eat… then haul back down the 401 to Toronto.


I had a blast this year, I can’t wait ’till the next event. Special thanks to David Van for organizing things, Haugens for putting up with our noise and muddy clothes, ODSC preriders and our sweep Daryl (sp?). And of course, my riding team: BJ, Rob, Ken and Derek!

Oh and an extra photo of BJ because he deserves it: not only did I get a ride on his trailer… but he was making the extra effort to see the cops had no reason to pull us over 🙂


Finally the video!

Tag, you’re it…

Finally, a warm holiday to get out of the house, and put on some miles!

I had hoped to get the GTA and Ontario pictures needed for the Photo Tag threads I’ve been following: I got the Ontario: but I was too late for the Toronto picture.

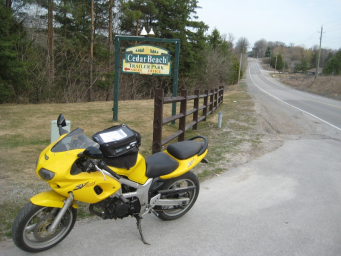
Oh well, you can’t win them all: I have all season to get more tags! I ended up with more new tag pics than I could use: here’s one from a trailer park! I know, I know, I go to all the cool places….

Lets try this again… [part 3]

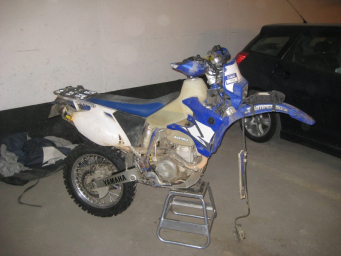
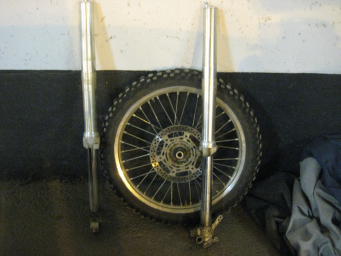
Yesterday the final few parts arrived: the most important being the front wheel bearings. Greased everything up, tapped the new bearings in, then went downstairs to put everything back together.

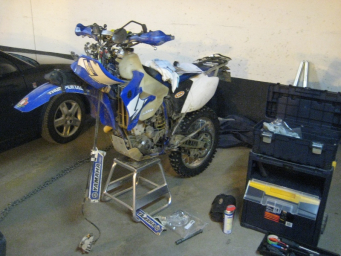
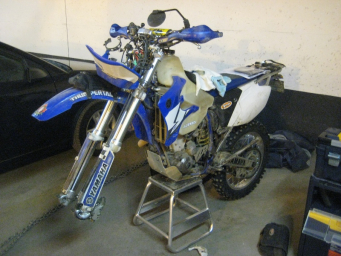
First got the biked pulled out from the wall and on the stand:

…then added the forks, guards, and calipers…

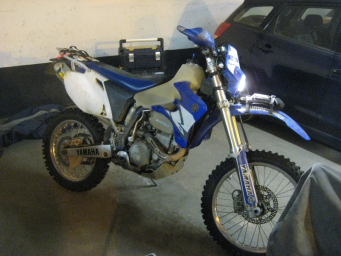
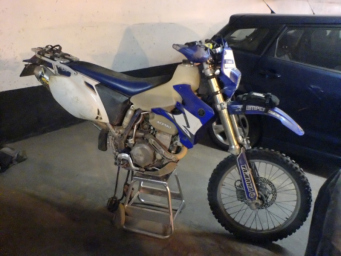
…and finally the new front tire. And it started!

I took it for a short ride to the gas station to top off the tank with fresh gas then parked it again. The battery is weak (it was full, but I used it with a 12v air compressor to pump up the tires when I put new rubber on)… but I’m hoping after one longer ride it will top back up again.

Maybe a ride this weekend? We’ll see…

Lets try this again… [part 2]

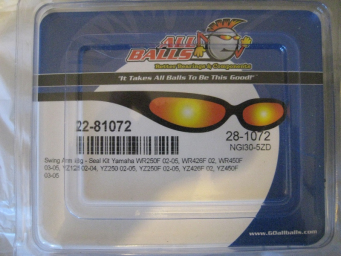
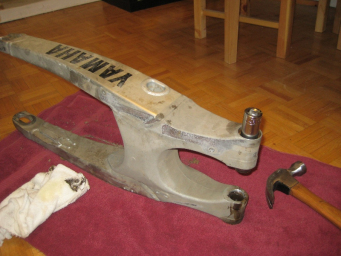
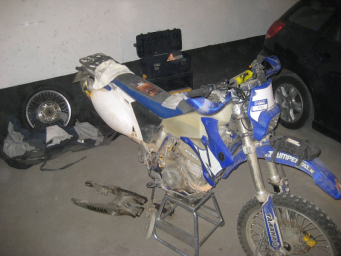
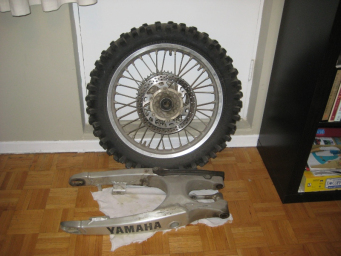
It’s the weekend, time to get off my butt and put the bike back together. Last spring (the first time I took the swingarm apart since buying it) I noticed one bearing came out much worse than the rest: dripping rusty water, with almost all the needle bearings seized. At the time I was prepping for a ride the next weekend, so I cleaned it out as best I could, used ultrafine grit sandpaper to get the worst of the rust off, and repacked it with fresh grease. But I also bought a bearing kit from All Balls online:

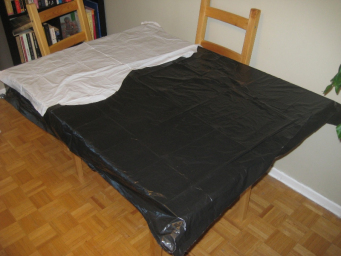
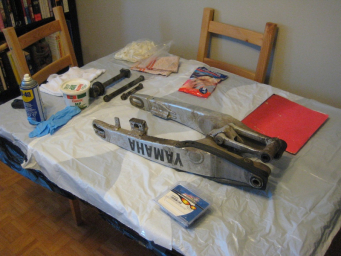
To keep my sister from killing me, when I do work in the apartment I put down one layer of black garbage bags on the table, then a second layer of white bags. This prevents me from scratching things, the white bags make it easy to see screws and other parts I drop, and I can replace the top white layer as I go along to keep the surface clean of dirt and grease.

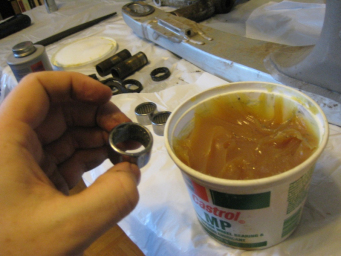
Lots of rags and rubber gloves, WD40 to help clean things off, and a big tub of grease for putting everything back together:

I was cleaning and repacking the linkage bearings, but needed to get the swingarm bearing out (2 per side). My Yamaha manual talked of custom bearing pulling tools, and I looked them up online. I could order a “real tool” for between $30-$50. Or, as I learned online… I could use a socket slightly smaller than the hole, but bigger than the inside of the bearings, and hammer them out. Now you’re talking!

Then time to cram as much grease as I could into the new bearings, and “tap” them back in. I didn’t much care how hard I whacked the old ones out: they were garbage: but I wanted these to last the rest of the life of the bike. Handle with care!

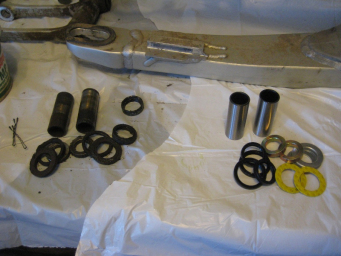
Here on the right you can see the new pivots, thrust washers, and grease seals about to be installed on both ends of the new swingarm bearings (and their old greasy/rusted versions to the left)

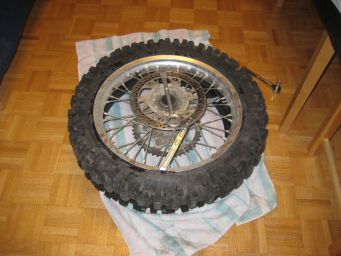
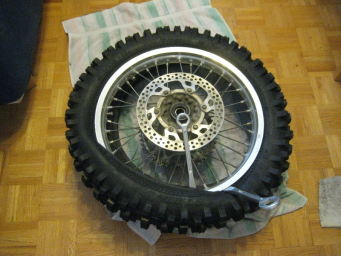
With the swingarm sorted, next up was the new rear tire, using the same guide I used last year.

I can’t explain how much I’m growing to hate tire changes. Apparently it’s something you get better at. But to save some time I’m just going to post before-and-after pics, and not tell you how long it took me to get it done 🙂

Just taking the first bite of the old tire to get it off…

…and the final (and hardest) bit of spooning the new one back on.

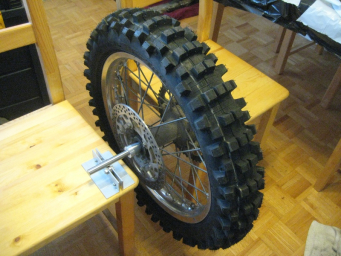
Then, an extra step. My front tire would shudder badly at certain speeds on the highway last year, so I decided to get a balancing rig off Ebay (i.e. $10 in parts sold at an insane markup) and balance my tires when I change them. Basically a straight rod to pass through the tire, tapered cones to keep the tire centered (and adapt to different sized axles), held up on both sides by 2 bearings bolted to scrap pieces of aluminum (looks like the same bearings used for rollerblades or skateboards). All you need to provide is something to hold up both sides. Milk crates or cement blocks would work… but here I’m using 2 wooden Ikea chairs.

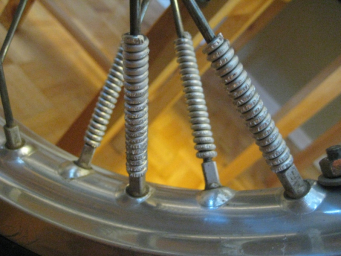
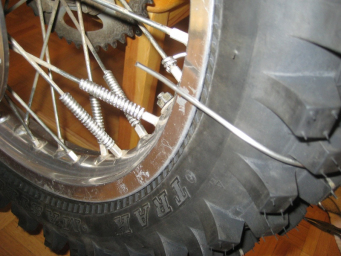
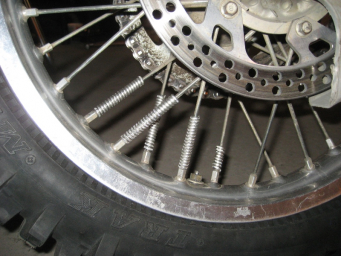
The kit came with 1/4oz stick-on weights, but there wasn’t really flats spots on the rim to put them. I needed 2.25oz to balance the tire… and was eyeballing some disposable or reusable spoke weights, then I remembered something I saw at last years DualSport training event. A quick Google to make sure I wasn’t remembering things wrong… then a trip to Canadian Tire to pick up what I needed: the thickest solid-core solder they sold (3mm, that I could find). Cut 12-16″ lengths and wrap it tightly around the spokes, as shown where the “light” side of the tire was (using the balancer).

I’d wrap a length a couple of times around a spoke, then bend the rest toward the outside of the tire and check the balance. If I still needed more weight I’d wind up the current piece, then repeat the process again. Until the balancer showed I had too much weight… then I’d trim that last bit of solder shorter and shorter until I was balanced. Then wrap that trimmed bit of solder up around the spoke

(Note: I don’t know if balancing with solder is safe, or durable, time will tell for me. If it seems too dodgy for you, don’t do it!)

Then back to “the garage” to button things back up:

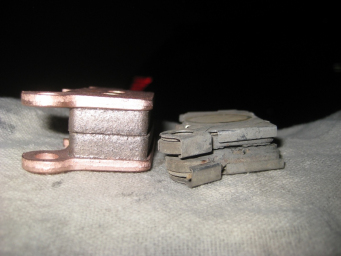
When I ordered fork oil for the front, I also asked for replacement pads front and rear. I hadn’t actually looked to see if I needed them, but I knew they hadn’t been changed since I bought the bike, and I’m a sucker for throwing extra parts in the basket at the last second when ordering online. It’s a good thing I did: I had less then 1mm left of material left on my rear pads. Here’s the new on the left, and the old on the right.

Got the swingarm and rear tire back on: check out the final ghetto balance job!:

Now I’m done! Right?

Right ???

Aw, crap:

Missing some pieces. Oh, there they are:

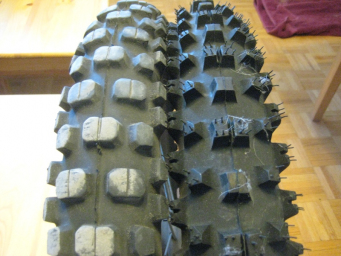
Front tire and forks are now warming up inside. I’m not unhappy with the current front tire, but wanted to try something a little more “dirt” oriented. The original on the left is a Pirelli MT21 with a season of wear on it (almost nothing), and on the right is the new Pirelli Scorpion XC MidSoft: with knobs that are a bit smaller at their base but longer and pointier:

Maybe I’ll get the front tire and forks done tomorrow, if I’m not too lazy…
Lets try this again…
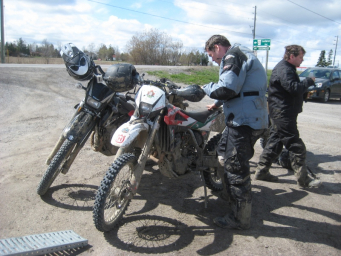
My friend BJ let me know the 2010 Bethany Dual-Sport ride was coming up soon. We were one month from the ride date, so if our bikes were still winterized we better do what we had to to get them on the road!

I “attended” the 2009 version of this ride. Notice I didn’t say I “rode” at that event. Well I did ride. For a few minutes. Then had a few hours to contemplate the mysteries of the universe. (but I did get out in the end). So I’m ready for a rematch! I just need minor maintenance on the bike… you know… tighten the chain, a little WD40 squirted here and there… the usual…

Well, maybe I had bigger plans. First, clean+lube the rear suspension, then try to balance and remount the rear wheel:

By next weekend I should have also received some fork oil in the mail: and I can rip off the front end and get it sorted as well!

Here’s hoping it all goes back together without extra screws left over…

No one can hear me scream…

Toronto’s getting chilly: we had our first snowfall a few days ago, and it looks like it’s going to stay. Time for a new game to help winter pass!

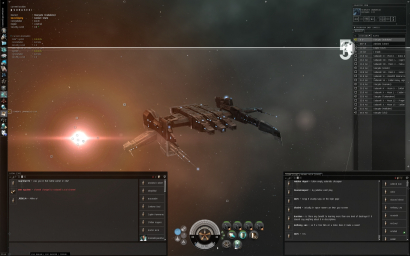
I haven’t spent any time in the retail version of Aion, other than to make sure my account works. What looked more interesting was Eve Online: a MMORPG where players fly around in space blowing things (and each other) up! Here’s me in one of the beginner ships:

So far so good, other than there’s about a million things to learn before you feel like you have a handle on all that could go on. The in-game help channel has been fantastic, and the forums are full of a lot of good info as well. Other than the space theme, two of the big differences with Eve are that all the players live in the same world (unlike other games that split characters across multiple parallel universes) and that skills are time based. In most other games if you want to increase a skill, it’s usually based on experience, which is often based on the number of critters you kill. So more critters = more skill. But in Eve you choose the skills to train… and if it says a skill will take 24 hours to get to the next level… then it takes 24 hours… whether you’re online or not!

I haven’t tried any PvP yet: I’m a bit afraid of getting killed and losing my nice shiny beginner ship. That’s the other big difference with Eve: death has real consequence. If you played Eve for a month to save enough cash to buy a fancy ship… and you get in a fight and it gets blown up, it’s gone. It’s certainly making me more cautious as I learn the ropes…

OMG, he’s real!

My first weekend in Atlantic Canada found me walking the downtown shores of Halifax… taking random pictures and scouting out places to eat that were walking distance from the hotel (and finding Tim Hortons for the short drive to work!). Lots of interesting boats docked, probably because the hotel is only about a block away from the Maritime Museum, but this guy stood out from the rest:

It’s Theodore the Tugboat! If you don’t recognize him from TV you can read more about him here and here.

You can’t walk around the corner, see his big eyes staring at you, and not smile 🙂